jpgHD Blog
How to fix blurry and noisy images
Blur and noise often arrive together in low-light photos. jpgHD can improve clarity and reduce distracting grain in one enhancement workflow.
Use only images you own or have permission to edit.
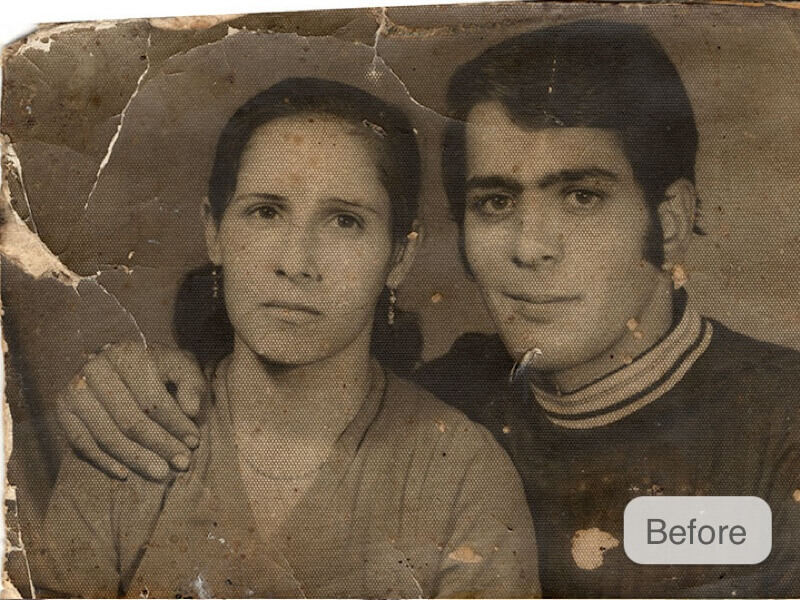 Before
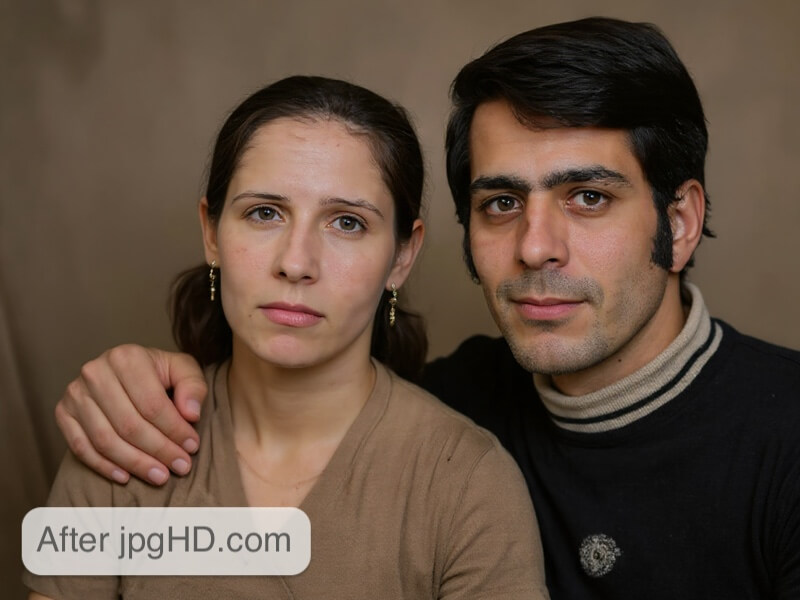 After
AfterWhy this workflow helps
Blur and noise often arrive together in low-light photos. jpgHD can improve clarity and reduce distracting grain in one enhancement workflow.
Use the least aggressive setting that solves the problem: excessive sharpening can turn noise into harsh edges and invented detail.
A practical jpgHD workflow
- Prepare the best source Choose the clearest original you own or have permission to edit, and keep a copy before uploading.
- Upload and process Upload the image to jpgHD, choose the enhancement that matches your goal, and wait for the result.
- Inspect important details Compare the result with the original at the size where you plan to use it. Check edges, faces, text, and repeated texture.
- Refine when needed If an area looks artificial, try a cleaner source or a gentler workflow instead of repeatedly increasing the strength.
- Keep both versions Download the improved image, but keep the original so you can compare or make a different edit later.
Tips for a more natural result
- Separate blur from noise Consider whether softness comes from motion blur, grain, or compression before choosing how much improvement the image needs.
- Protect natural edges Use the gentlest correction that clarifies the subject, because aggressive sharpening can turn grain into harsh outlines and invented texture.
- Know when to reshoot If the important subject remains unclear, compare processing with taking a new photo rather than expecting absent information to return.
Related articles
- AI image upscaling: how to make photos sharper
Learn how to upscale photos with jpgHD AI, choose 2X or 4X enlargement, prepare the original, and check faces, text, and texture in the larger image.
- How to enhance portraits and faces
Improve portrait clarity with jpgHD: prepare the image, protect natural features, and review faces at a useful size.
Frequently asked questions
Can AI fix motion blur and noise equally?
Not necessarily. jpgHD improves visible information and can reconstruct some detail from context, but it cannot recover pixels that blur or noise prevented the camera from capturing.
Which original should I upload for a noisy photo?
Choose the highest-quality original you own or may edit; a clean scan or uncompressed file preserves more useful information for the process.
How do I judge a de-noised result?
Compare the improved image with its original at the intended viewing size, then inspect important textures, edges, and facial details at full size.
Who is responsible for a repaired image?
You are responsible for the image rights and for deciding whether the result is appropriate for the intended personal, editorial, or other use.